SFTP Adapter: SFTP stands for Secure File Transfer Protocol. The SFTP Adapter connects an SAP Cloud Integration tenant to a remote system using the SSH File Transfer Protocol to write files to the system. The SFTP adapter uses a certificate and keystore to authenticate the file transfer, unlike the standard FTP.
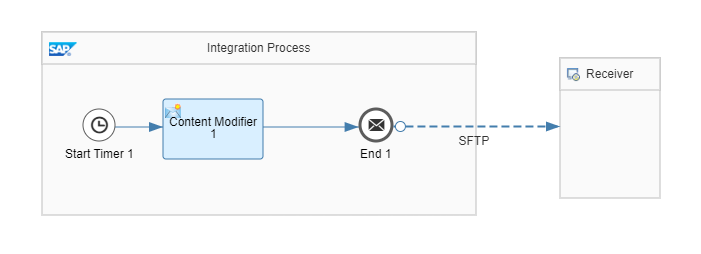
The I-Flow Is As Follows :
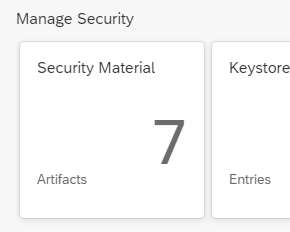
Step 1 : Go To Manage Security Material And Click On Security Material.
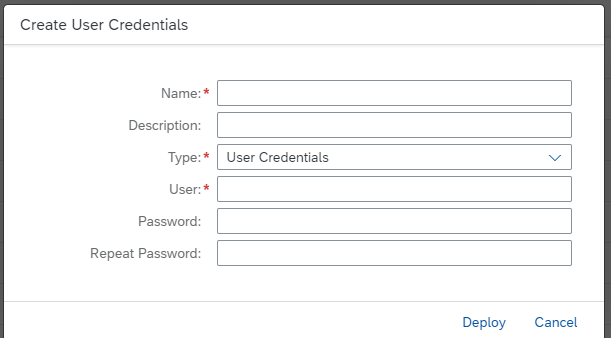
Step 2 : After Clicking On Security Material, Click On Create And Select User Credentials And Give The Details.
Note : The Password Must Be Same As The SFTP Server Password.
Step 3 : After Deploying User Credentials, Go To Connectivity Then Go To SSH And Give All
Details And Then Copy The Host Key.
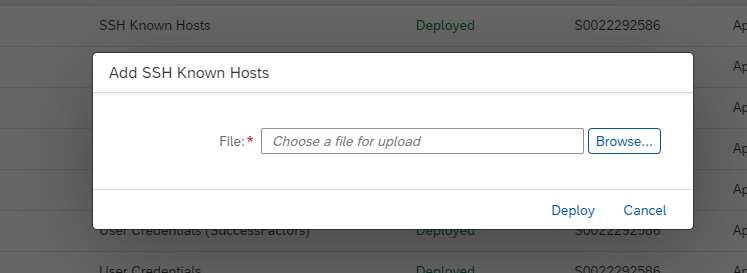
Step 4 : Go To Manage Security And In Manage Security Go To Security Material To Upload Host Key.
Click On Upload And Upload Host Key.
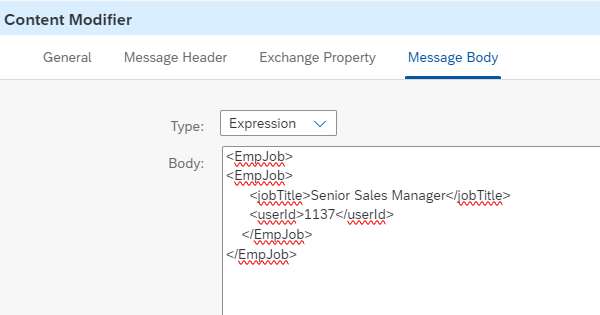
Step 5 : Add Content Modifier Connecting To The Start Timer.
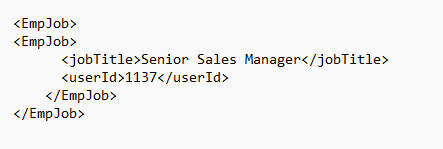
Step 6 : Click On Content Modifier And Give Message Body Details.
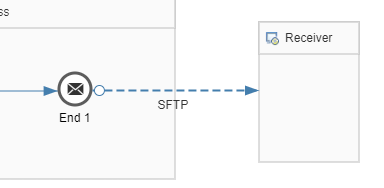
Step 7 : Connect The End Message To Receiver Via SFTP Adapter.
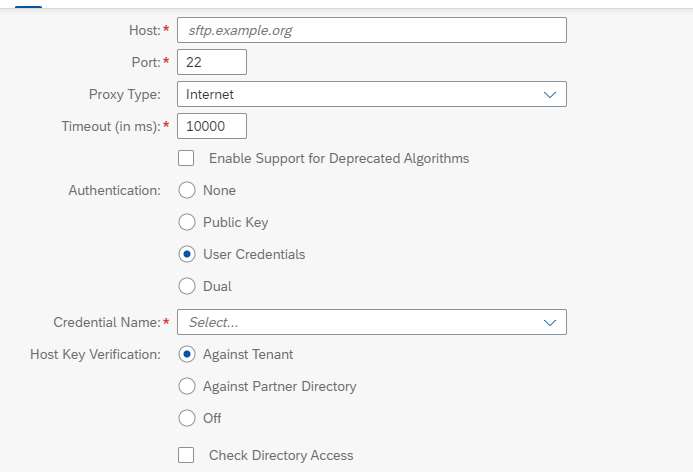
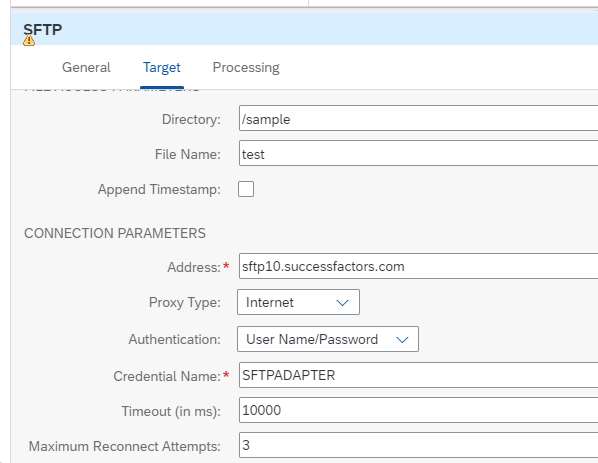
Step 8 : Click On Adapter And Give Target Details.
Step 9 : Now Click On Save And Deploy.
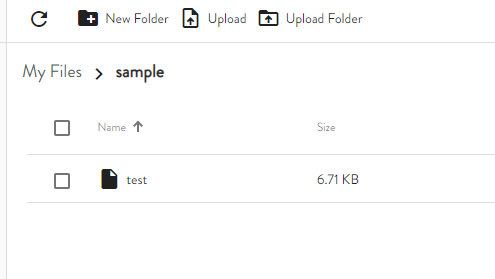
The created folder and file is as follows.