SFTP stands for Secure File Transfer Protocol. The SFTP Adapter connects an SAP Cloud Integration tenant to a remote system using the SSH File Transfer Protocol to write files to the system. The SFTP adapter uses a certificate and keystore to authenticate the file transfer, unlike the standard FTP.
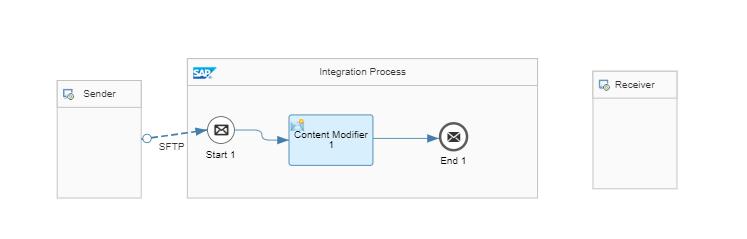
The i-flow is as follow
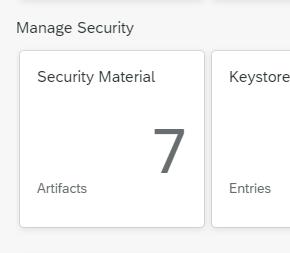
Step 1 : Go to manage security material and click on Security Material.
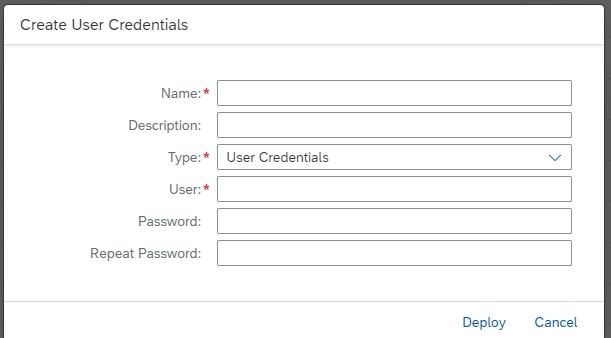
Step 2 : After clicking on security material, click on Create and select User Credentials and give the details.
Note: The password must be the same as the SFTP server password.
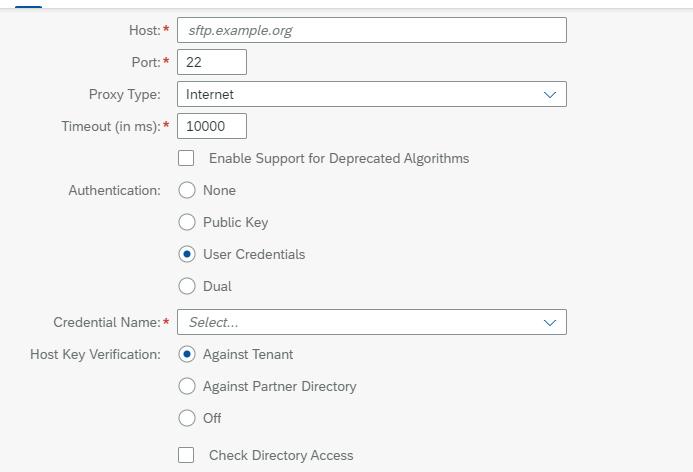
Step 3 : After deploying user credentials, go to connectivity then go to SSH and give all
details and then copy the host key.
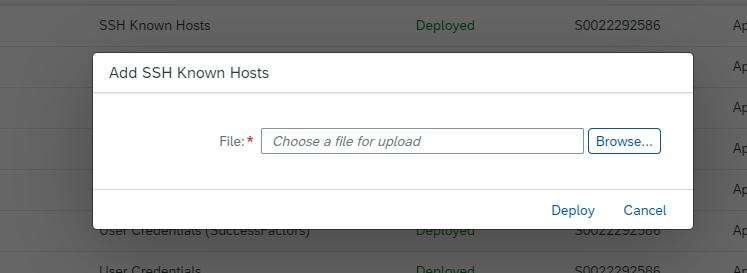
Step 4 : Go to manage security and in manage security go to security material to upload
host key.
Click on upload and upload the host key.
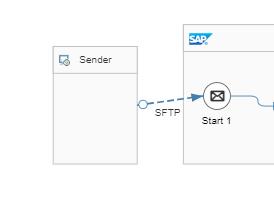
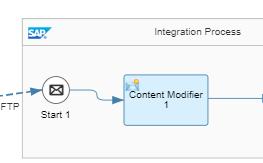
Step 5 : Connect the sender to start message via SFTP Adapter.
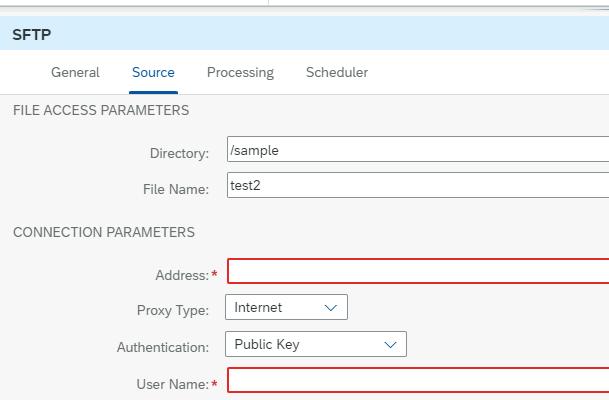
Step 6 : Click on adapter and give source details.
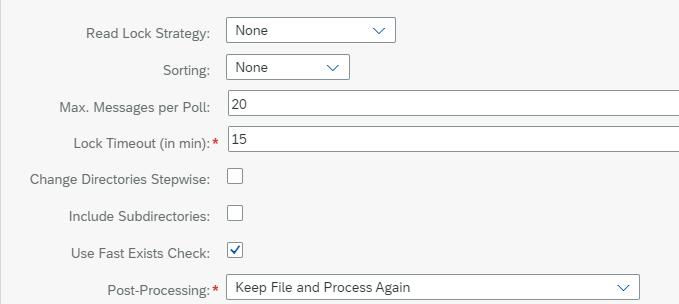
Step 7 : Click on adapter and give processing details.
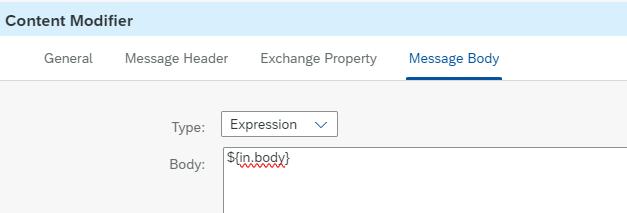
Step 8 : Add content modifier connecting to the start message.
Step 9 : Click on content modifier and give message body details.